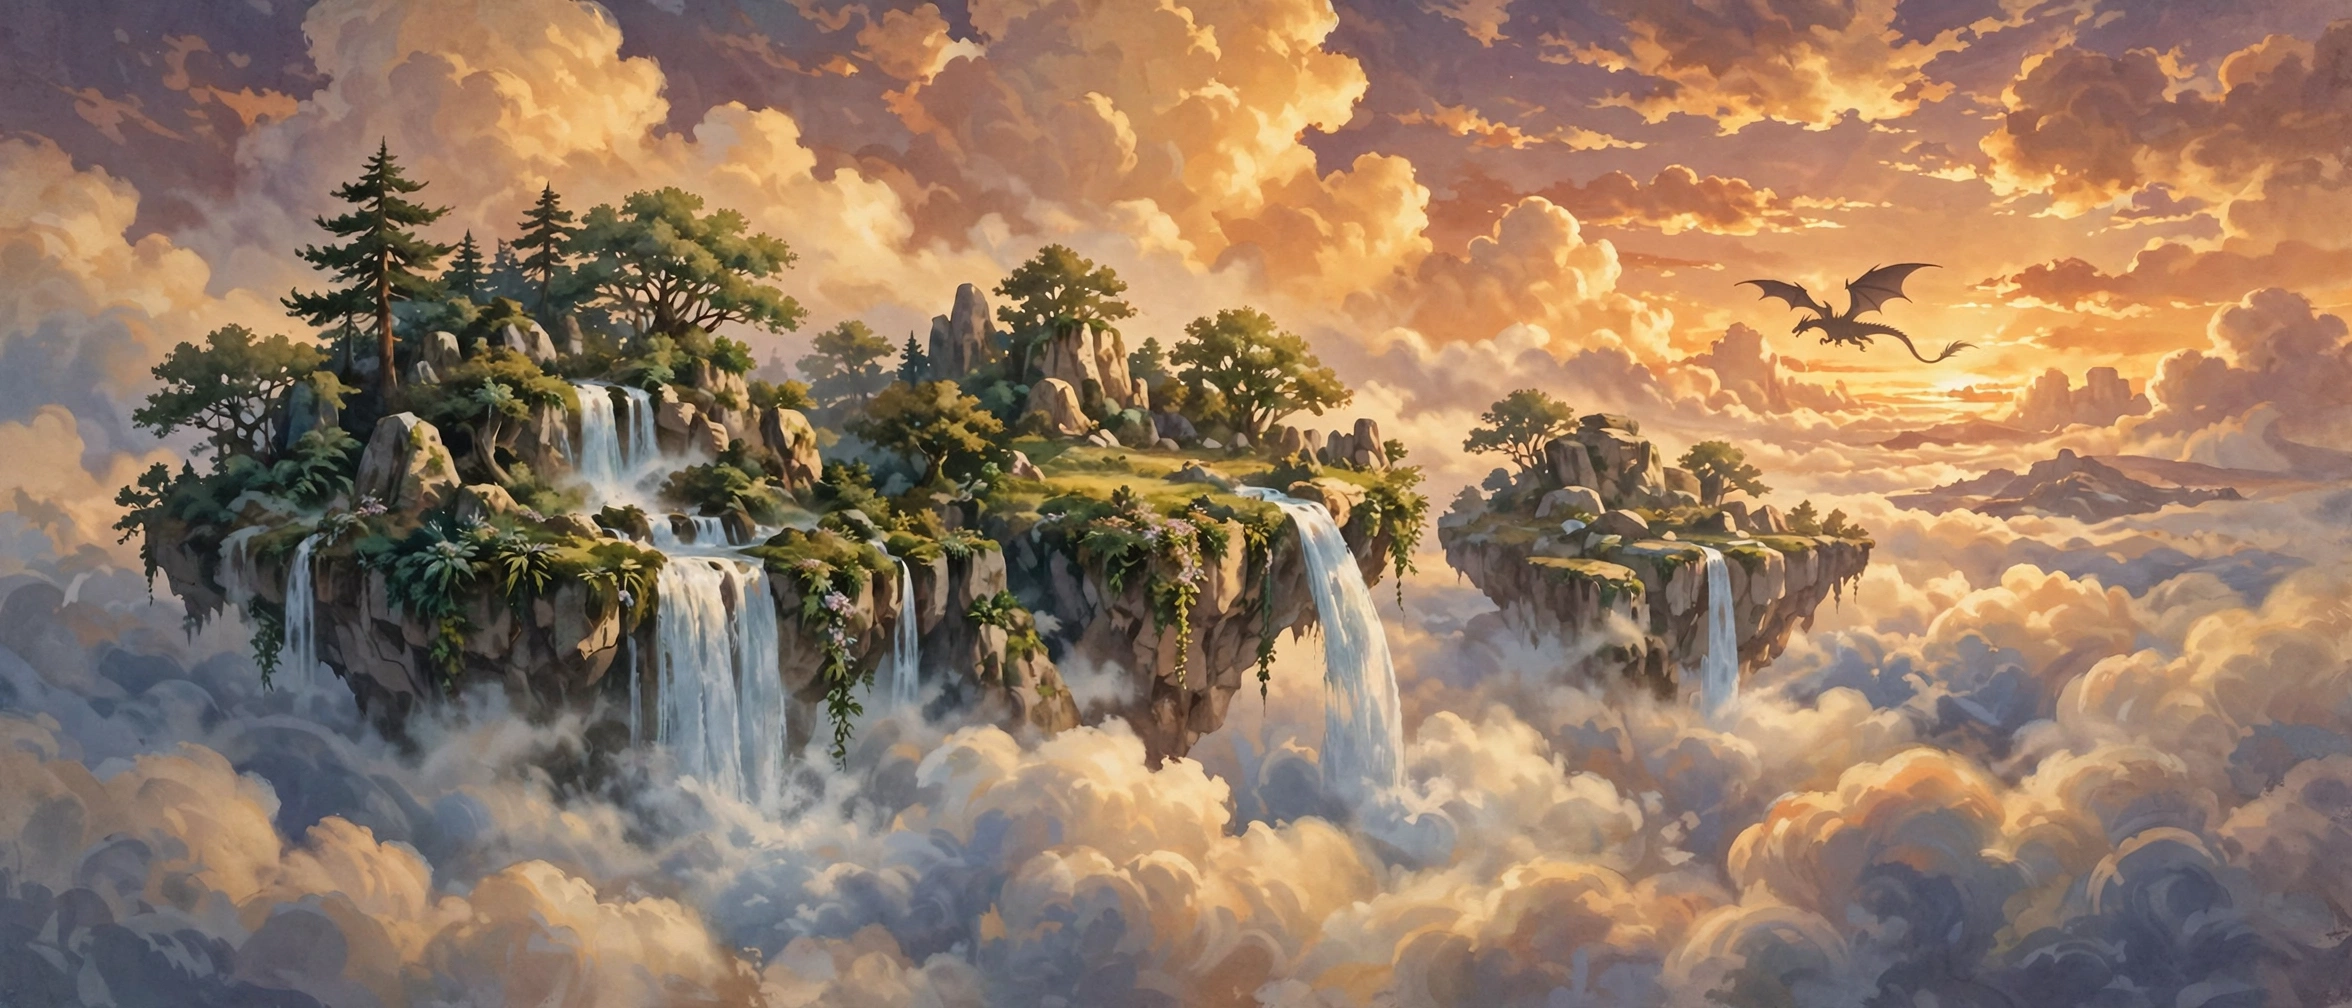
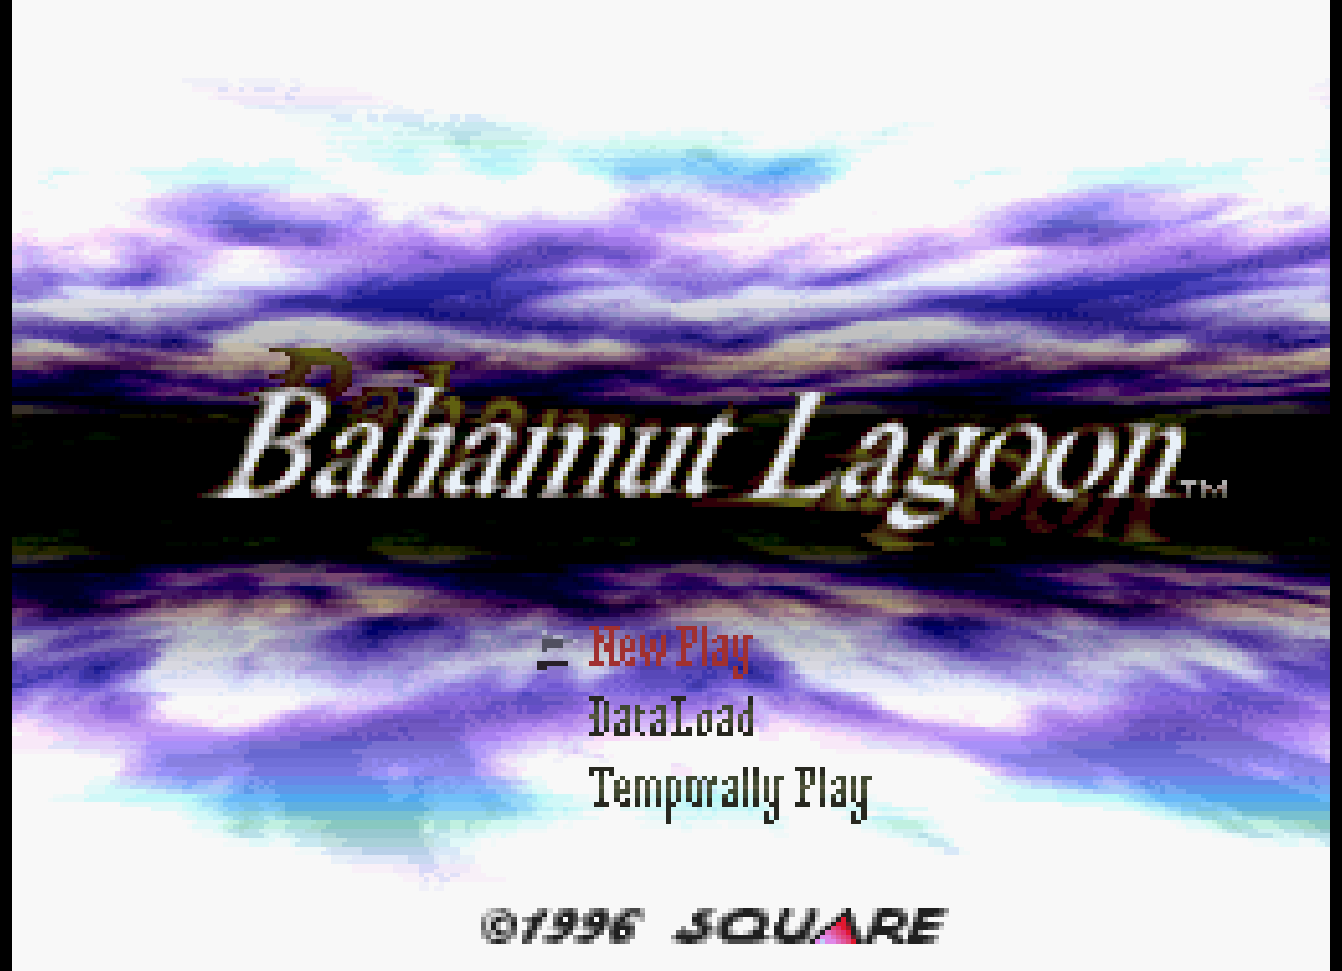
Bahamut Lagoon never officially left Japan — and it is one of the most original tactics RPGs Square ever made. Released in February 1996, in the Super Famicom's final stretch before Square moved to PlayStation, it combines grid-based tactical battles, a second layer of close-range party combat, and a dragon-raising system in which your most powerful units are not really under your control. You do not command your dragons. You feed them, you suggest what they should do, and then you watch what kind of creature your choices have made.
Never officially released outside Japan, the game became a legend of the fan-translation era, carried across the language barrier first by an early fan patch associated with the DeJap group, and decades later by a famously meticulous second fan translation released in 2021. This guide explains how the game is structured, how its dragon system actually works, and how to get the most out of a first playthrough.
Quick Facts
| Item | Detail |
|---|---|
| Title | Bahamut Lagoon (バハムート ラグーン) |
| Platform | Super Famicom |
| Developer / Publisher | Square |
| Release (Japan) | February 9, 1996 |
| Release outside Japan | Never officially released; known in English through fan translations |
| Genre | Tactical role-playing game |
| Director | Kazushige Nojima |
| Scenario | Motomu Toriyama |
| Music | Noriko Matsueda |
| Cartridge | 24 Mbit, with battery-backed save (SRAM) |
| Playable dragons | 7 |
| Structure | Prologue, numbered chapters, and a finale (see Strategy Essentials for how sources count them), plus optional side maps |
| Protagonist | Byuu, captain of Kahna's dragon squad |
| Setting | Orelus, a world of continents floating in the sky |
Overview
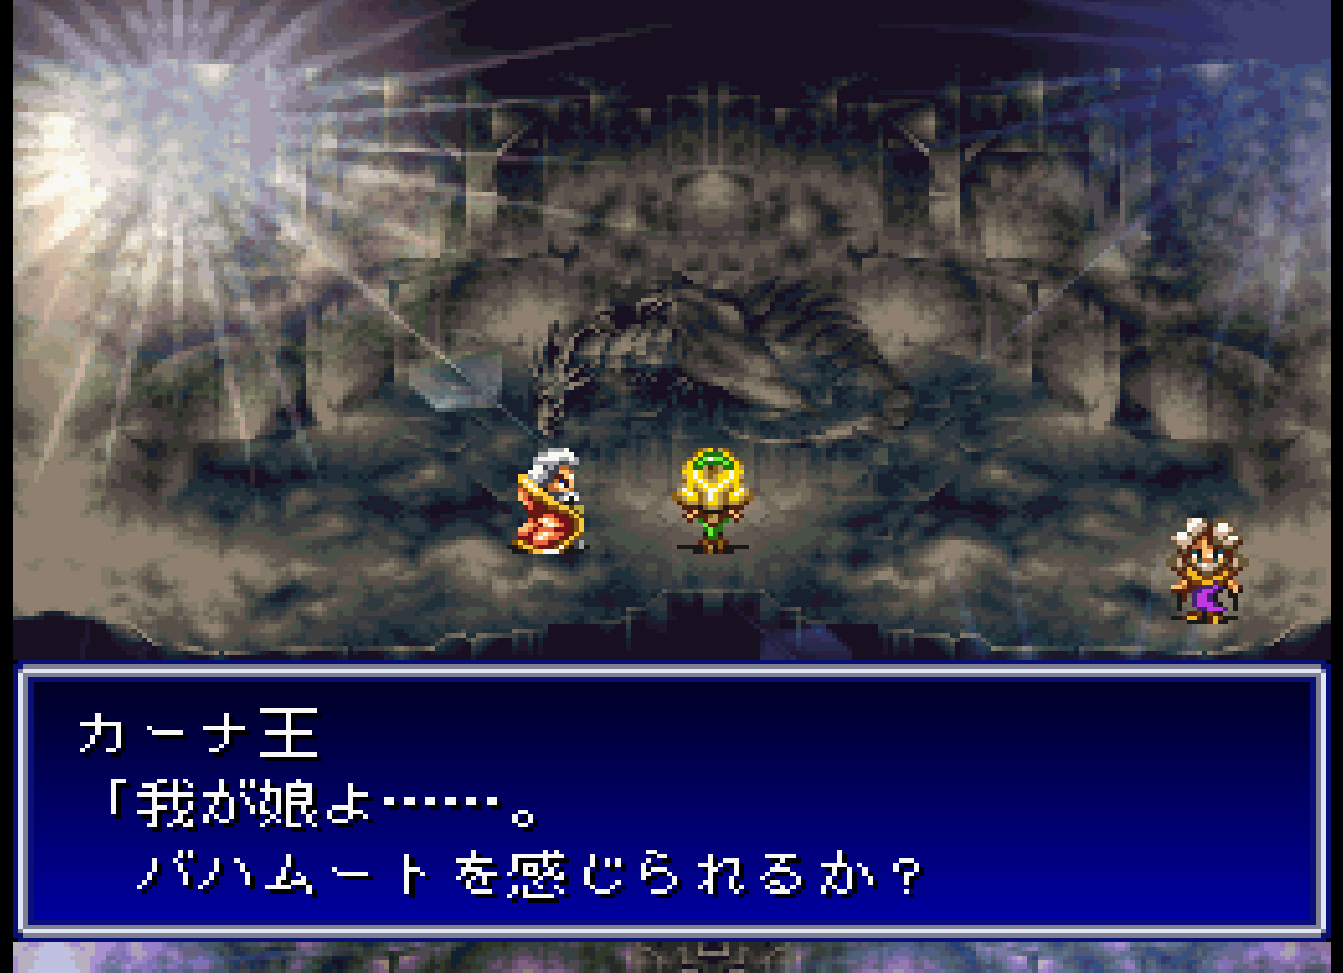
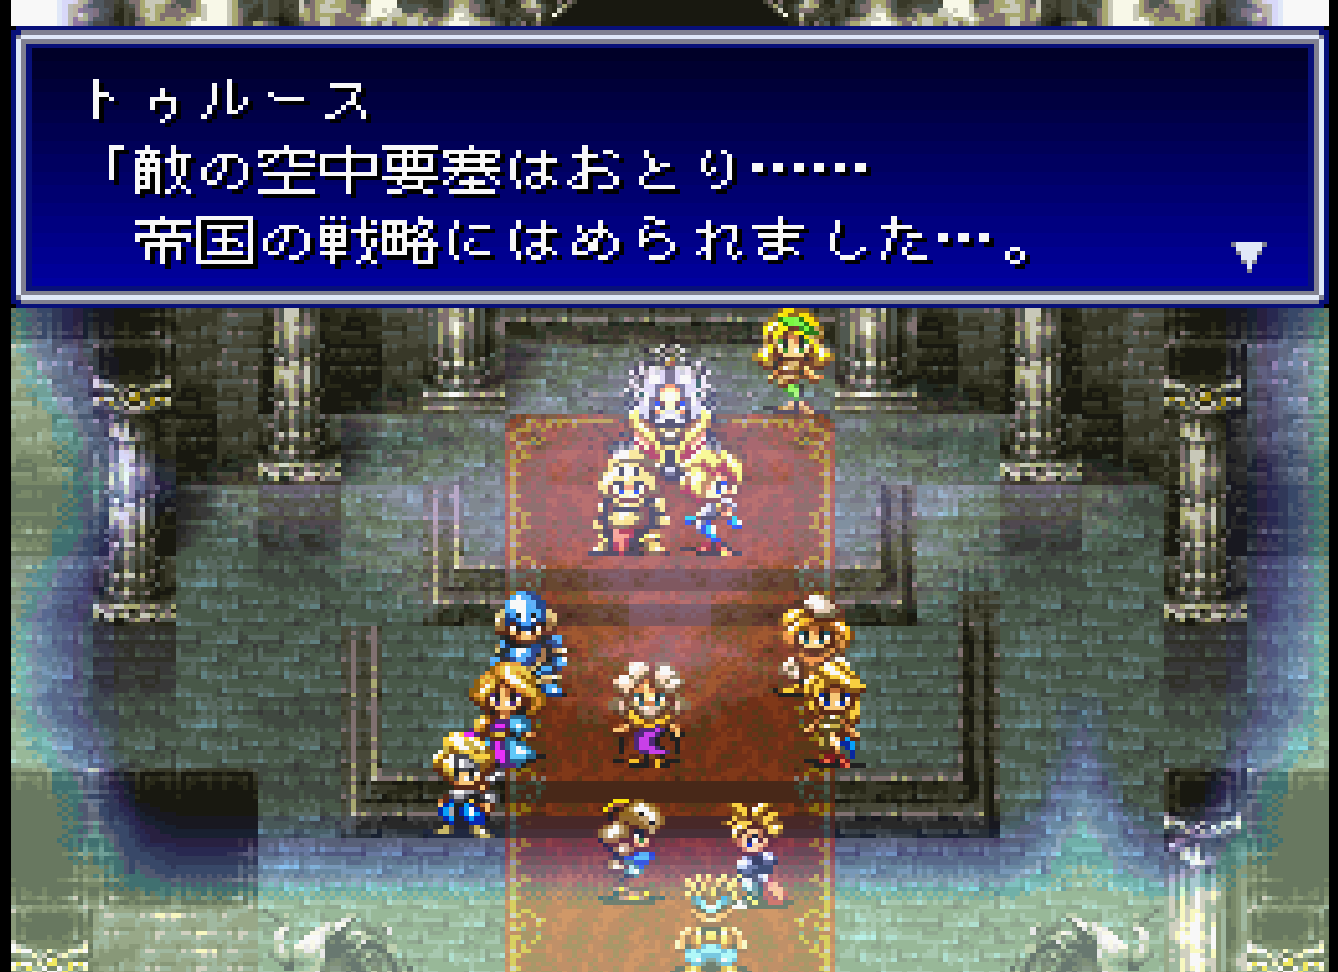
The world of Orelus has no ground. Its continents — "lagoons" — drift in an endless sky. When the expansionist Granbelos Empire invades the holy kingdom of Kahna, home of the sleeping god-dragon Bahamut, the young cross knight Byuu escapes his country's fall aboard the sky fortress Fahrenheit and builds a resistance force from the peoples of the conquered lagoons.
The campaign alternates between two modes. In the intermission, you walk around the Fahrenheit, talk to your cast, shop, rearrange your parties, and feed your dragons. In battle, you field up to six parties on a tactical map. Each party is four characters paired with one dragon; with seven dragons in total, one usually waits in reserve.
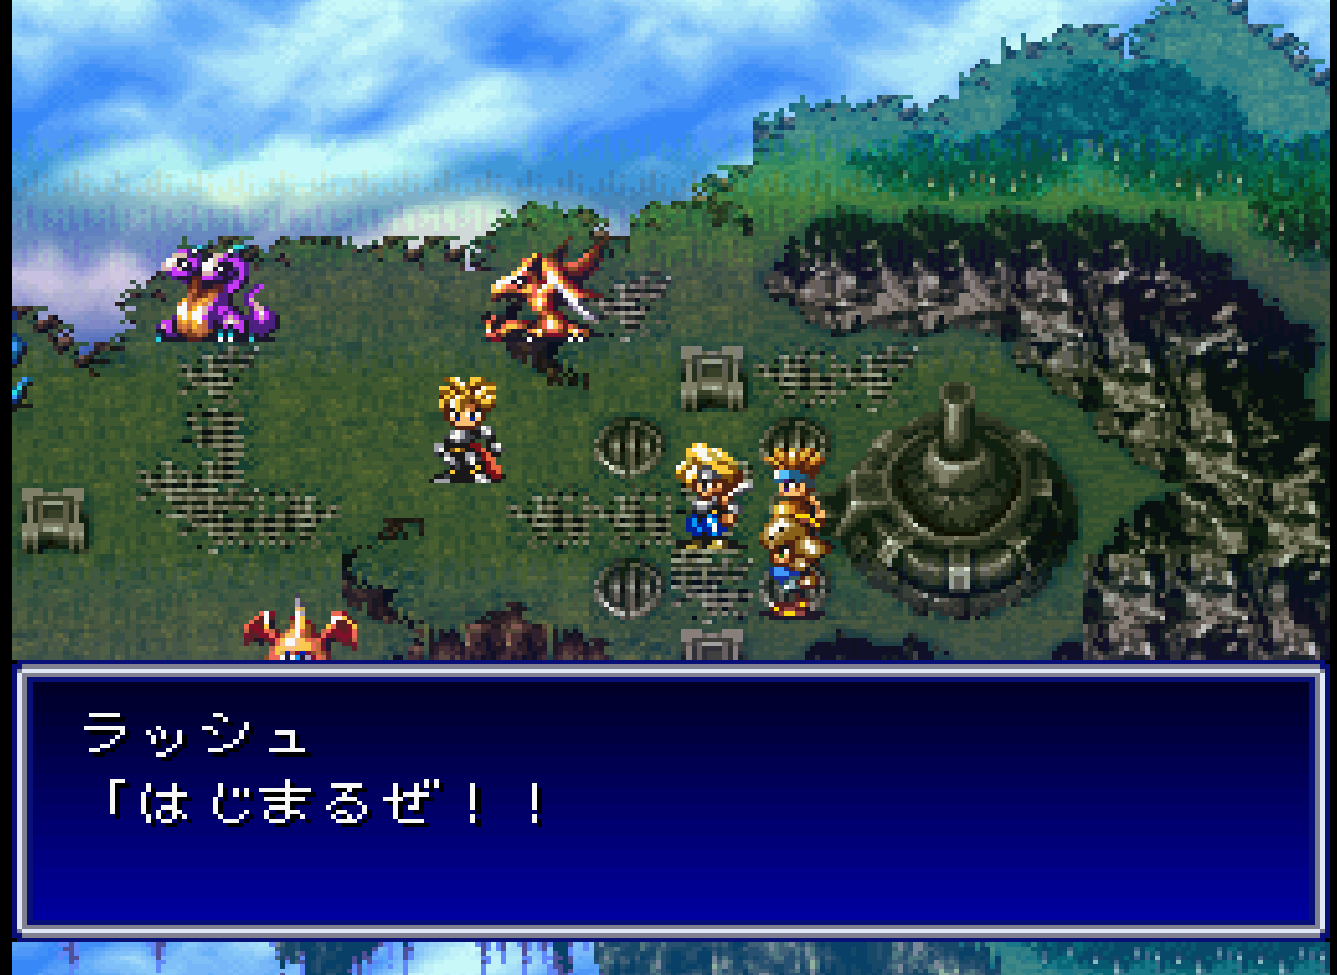
Combat is two games layered together. On the map, parties move on a grid in player/enemy phases and use ranged "field" techniques — elemental attacks that also reshape the terrain. Engage an adjacent enemy party and the view switches to a side-view battle screen where you command each character individually, and the party's dragon may intervene. If a party's dragon is knocked out, some of that party's techniques and magic become unusable for the rest of the map, so dragon survival is a real objective.
The story — written by Motomu Toriyama, directed by Kazushige Nojima, both soon central to Final Fantasy VII — starts as a war of liberation and becomes something more tangled: a love triangle that does not resolve the usual way, and allies with their own agendas. It reportedly sold over 474,000 copies in Japan in 1996, respectable for a late, high-priced cartridge — but Square never brought it west.
Why It Still Matters
Bahamut Lagoon was developed by a team of Square newcomers — it reportedly began life under the working title Final Fantasy Tactics — and it plays like talented beginners allowed to ignore the house rules. Almost none of its systems work the way a tactics RPG's systems are "supposed" to, and that is why it still feels fresh.
It also sits at a crossroads in Square's history. Nojima and Toriyama would shape the company's PlayStation era, and Noriko Matsueda's quasi-orchestral score — military snap and wistful melody squeezed through the Super Famicom's sound chip — was her first major solo work after co-composing Front Mission. For the translation community, the game became a landmark twice: an early fan-translation trophy, and then, twenty years later, the subject of one of the most polished fan translations ever released.
And the dragon system has never really been repeated. Plenty of games let you raise a monster. Very few make it a semi-autonomous ally whose personality, obedience, and even species are the cumulative result of everything you fed it — including your old equipment and spare books.
Highlights
- Dragons you raise, not units you move. Each dragon acts on its own after its party moves. You give it one of three standing orders — Come!, Go!, or Wait! — and its temperament values, some of which are shown on the dragon-breeding screen, help decide how faithfully it listens.
- Feeding as a full character-building system. Every weapon, armor piece, book, and mushroom in your inventory is potential dragon food, nudging stats, elemental affinities, behavior — and eventually the dragon's form. Japanese dragon catalogs document some 240 forms across the seven dragons.
- Terrain is a weapon. Fire burns forests, ice freezes water into a road, thunder wrecks machines and cannons, and recovery magic cleanses poisoned ground. Maps are built around these interactions.
- A war story that swerves. The resistance-versus-empire setup is a feint; the back half deals in betrayal, occupation, and a heroine who makes her own choice.
Strategy Essentials
The shape of the campaign
Sources count the chapters differently, so here is the honest version: Japanese references describe the game as a Prologue, Chapters 1–26, and a Finale, while the standard English walkthrough numbering runs from a Prologue through Chapter 27. Counted as story maps, both descriptions give you the same campaign; English sources that simply say "27 chapters" are usually not counting the Prologue separately. On top of the main line there are optional side maps (the Yorimichi, "detour," maps — four by Japanese counts), available from around Chapter 6 onward, and a post-game EX Play unlocks once you finish.
| Segment | What happens there |
|---|---|
| Prologue | The fall of Kahna; you name Byuu and your first three dragons |
| Chapters 1–2 | The resistance forms; early dragons join; formations and dragon assignment unlock |
| Middle chapters | New lagoons and classes; side maps open; the divine dragons are sought one by one |
| Late chapters | Divine-dragon battles escalate (Leviathan, Jormungand, Bahamut headline Chapters 11, 16, 21 in Japanese boss listings); Puppy arrives in Chapter 20 |
| Finale (Ch. 27 in English numbering) | The closing battle against Alexander |
| Side maps / EX Play | Optional challenges, including the Hard Dungeon, from around Chapter 20 |
Between battles, the intermission aboard the Fahrenheit follows a fixed rhythm: story scenes, shopping and equipping, reorganizing parties and dragon pairings, feeding the dragons, and hunting for hidden items. That last habit pays off — repeatedly talking to certain crew yields odd "???" items, and searching Princess Yoyo's bed across several chapters turns up the five Princess's ??? items that matter enormously below. Treat every intermission as a checklist: talk, shop, equip, feed, then sortie.
The dragon system: food, elements, and form
Feeding happens only during intermissions: walk up to a dragon and offer anything in your inventory. The dragon eats it, permanently. Three layers of numbers respond:
1. Base stats. Strength, Vitality, Dexterity, and Mind rise mainly from equipment and books — weapons push Strength, armor pushes Vitality, books push Mind. Guides agree these advance one rank per 25 points, up to 250 (rank 10), alongside HP (up to 9,999) and MP, best raised with Magic Gins and similar drinks.
2. Elemental affinities. Fire, Ice/Water, Thunder, Life (recovery), and Poison (death) each advance one level per 10 points, up to 100 (level 10). Elemental grasses are the direct route, and elemental equipment contributes too. Three further values are invisible: Earth, defined in fan data references as the lowest of your Fire, Ice, and Thunder levels, and Holy and Dark, which switch on at full level only in the corresponding advanced forms.
3. Temperament. These values are not all hidden: the dragon-breeding screen displays closeness (shitashisa), intelligence (kashikosa), and the sulkiness value shown as “?” (ijike). What the game does not display is the finer internal detail — the exact thresholds and evolution conditions behind them. English guides render the temperament values with overlapping names — Loyalty, Fidelity, Intimacy, Affection — and do not always agree on which label maps to which value, so treat the labels with care. What is consistent is the behavior: liked food makes a dragon more attached and obedient; disliked food can still be worth feeding for the stats, at the cost of that attachment. Temperament affects how well a dragon follows its orders, whether it helps in close combat — and, at the extremes, what it turns into.
| What you feed | Main effect (per guides) |
|---|---|
| Weapons | Strength up; dragon becomes more physical and aggressive |
| Armor | Vitality (defense) up |
| Books / notebooks | Mind (magic) up; Genius Notebooks are a favorite |
| Elemental grasses | The matching elemental affinity up |
| Elemental equipment | That element up, plus the equipment's stat effect |
| Mushrooms | Very cheap all-round food; raises Dexterity, Mind, Thunder, Life, and Poison modestly — the staple for bulk raising |
| Drugs / foodstuffs | HP up |
| Magic Gins | MP up |
| Bannouyaku (universal medicine) | Not food so much as medicine: it lowers the sulkiness-related values and is used to bring a dragon stuck in the Uni-Uni form (below) back |
The cardinal rule from every guide: specialize first. One dragon with Fire at level 10 does far more for its party than a dragon with five elements at level 2, because the party's own techniques inherit the dragon's elemental levels. Feed each dragon its native element first — Fire for Salamander, Ice for the Ice Dragon, Thunder for Thunderhawk — and only broaden out once that specialty is maxed.
Your seven dragons
| Dragon (EN fan-translation name) | Joins | Starting affinity | Holy form | Dark form |
|---|---|---|---|---|
| Salamander (Salmando) | Prologue | Fire | Phoenix | Effex |
| Ice Dragon (Icedrake) | Prologue | Ice | Saint Weapon | Black Buster |
| Molten | Prologue | Holy-leaning | Raiden | Helmoot |
| Thunderhawk (Thunderh) | Chapter 1 | Thunder | D. Chimera | Black Chimera |
| Twinhead | Chapter 2 | Fire and Ice | Last Gigantes | Belzebub |
| Munimuni | Chapter 7 | None | Odin | Dark Dragoon |
| Puppy | Chapter 20 | Varies — its nature depends on the parent dragons involved in its birth event | Lexus | Hidon |
The story's six divine dragons — Valitora, Leviathan, Garuda, Jormungand, Hyperion, and Bahamut — are not raised; they become summons for your two Summoner-type characters as the plot reaches them.
Forms: what your feeding eventually produces
A dragon's form is recalculated from its ranks, and forms run from the base form up through intermediate elemental forms to a level-7 ceiling. The conditions below are the ones two or more independent guide traditions agree on in outline; exact internal thresholds for the intermediate forms vary between sources, so this table sticks to the well-attested endpoints.
| Form | General condition | Notes |
|---|---|---|
| Intermediate elemental forms | Elemental and base-stat ranks rise in combination | The bulk of the 240 catalogued forms; mostly waystations upward |
| Holy form (unique per dragon, e.g. Phoenix) | Fire, Ice, and Thunder plus Life at top rank, with a maxed physical stat (Strength or Vitality at 250) | Gains a powerful holy technique; which stat you maxed can decide the exact form in Japanese catalogs |
| Dark form (unique per dragon, e.g. Effex) | The same combination, but Poison at top rank instead of Life | The holy/dark fork is your Life-vs-Poison feeding balance |
| Master Dragon | All elemental affinities at 100 and all base stats at 250 | The level-7 final form; uses every element plus holy and dark techniques. Salamander's Master (and Phoenix) form is reported to have effectively unlimited HP |
| Uni-Uni | The sulkiness (“?”, ijike) value reaches 100 and the follow-on “??” value rises | A joke form with strong but unreliable attacks; when “??” reaches 100 it becomes a Black Dragon. Feeding Bannouyaku lowers these values and can change it back |
| Lonely Dragon | The dragon's closeness (shitashisa) value falls to zero | Guides describe a dragon that can still use its techniques and magic normally, but tends to target distant enemies and keep its distance from its party; this form takes priority over the normal ones, so restore its attachment fast |
| Unknown → Behemoth | Feed the dragon Princess's ??? items | One item starts it; all five produce a Behemoth. Don't feed them piecemeal — a half-finished Unknown is a trap for your best dragon |
Two consequences follow. First, the endgame raising game is a shopping game: once your parties are equipped, surplus money converts directly into dragon power — mushrooms in bulk first, then books and stat gear — and old equipment should be fed, not sold, until its stat is maxed everywhere. Second, decide your holy/dark fork early: Life-leaning and Poison-leaning food pull the same dragon toward different final forms, and a maxed affinity cannot really be undone.
Battle: parties, orders, and terrain
You field up to six parties of four. A few formation principles recur in every strategy source:
- Spread your Light Armors and Lancers. A Light Armor dramatically extends how far its whole party moves, so pair the three Light Armors with slow, hard-hitting Knights and Heavy Armors rather than stacking them. Distribute the four Lancers the same way.
- Keep casters together, keep them at range. Wizards only hit hard in groups of three or more; Priests work best in a dedicated healing party; both are fragile, so use field attacks from distance. Keep the two Summoners together so their summons stay at full strength.
- Match the dragon to the party. Party techniques take their elemental levels from the dragon, and guide consensus pairs dragons by best stat: high Dexterity with Light Armor parties, high Thunder with Matelite's party (his Inspire technique scales with it), high Strength with Knights, high Vitality with Heavy Armors, high Mind with Mini-Devils.
- Rotate the bench. Reserve characters fall behind; swap them in regularly, and always field your Cross Knights, Light Armors, and Summoners.
- Use dragon orders deliberately. Come! keeps the dragon near its party — the safe default. Go! releases it to hunt alone — devastating with a strong dragon, a good way to lose a weak one. Wait! moves it to a spot near its party and away from enemies. The dragon acts after its party, and a disobedient one may ignore you; temperament is a combat stat.
| Terrain interaction | Effect |
|---|---|
| Fire technique on forest | Burns the trees away, opening movement and damaging units caught in it |
| Ice technique on water | Freezes a crossing you can walk over — the Prologue's broken bridge problem in miniature |
| Thunder technique on machines, cannons, generators | Destroys them; several maps gate progress or spawn enemies until you do |
| Recovery / White Drug on poisoned ground | Cleanses the poison field |
| Dragon's element vs. how an enemy is defeated | Affects what items enemies drop — elemental kills are a quiet farming lever |
Three places players get stuck
1. Chapter 3's cannons. The first real wall: the long-range Gran Launcher cannons out-range your early parties. Advance under cover, prioritize the cannons with field attacks (Thunder can wreck the structures they sit on), and don't clump up. 2. Chapter 13. A mid-game chapter cited as a difficulty spike in more than one playthrough account. Work through the enemy pressure methodically rather than rushing the center, and deal with any source of reinforcements one at a time where it appears. 3. The Hard Dungeon (side map, from ~Chapter 20). An openly unfair optional dungeon that can take the better part of an hour, with mid-dungeon saving. Go in late, with a Behemoth or Master-class dragon spearheading, dedicated Priest support, and melee parties built around Cross Knight / Knight / Heavy Armor / Light Armor. It is a victory lap — the main story does not require it.
Who It's For
Bahamut Lagoon is for tactics RPG players who enjoy systems with a little chaos left in them — if the genre's deterministic modern entries leave you cold, a game whose best unit has a mind, a diet, and a favorite food may be exactly your thing. It is essential playing for Square historians, too: this is the training ground of the Final Fantasy VII generation. Monster-raising fans will find one of the deepest raising systems of the 16-bit era, with the caveat that it rewards patience and hoarding. If you need full control over every unit, be warned: half of this game is caretaking, and the caretaking is the game.
How to Play It Today
The original Super Famicom cartridge is the straightforward route — a Japanese release, so you will need a Japanese console, a region solution, or an adapter. Check current listings here:. Square also re-released the game on the Japanese Virtual Console for Wii (September 29, 2009) and Wii U (February 5, 2014), but both storefronts have closed to new purchases, so those versions remain only if you bought them at the time. As of writing, the game has not been confirmed in the Nintendo Switch Online Super Famicom lineup.
For English speakers, fan translations have been the practical option for over two decades: an early patch from the DeJap era made the game playable in English around the turn of the 2000s, and the 2021 fan translation — the culmination of a project pursued for more than twenty years — is the version most often recommended today. Either way, you will be patching a dump of a cartridge you own; keep it legal, keep your original, and enjoy one of the great what-ifs of the 16-bit era, finally readable.
Related Reading
- Retro Game Article Batch 4: Panel de Pon (Super Famicom)
- Retro Game Article Batch 4: Mega Man 2 / Rockman 2 (Famicom)
- Retro Game Article Batch 4: Kirby's Pinball Land (Game Boy)
Editorial note: Basic specifications (internal title, capacity and memory configuration) are based on checking the cartridge header information. Strategy content is based on published sources.
Game screenshots captured by the author. ©SQUARE ENIX
Find original hardware editions on eBay
As an eBay Partner Network affiliate, Enkeisha may earn a commission from qualifying purchases made through these links.
Search eBay listings (affiliate link)
Check the language, region, hardware compatibility, condition and authenticity before buying. Search results may include reproductions; links do not endorse individual sellers.